Using an SSL Certificate
The server can use an SSL certificate to identify itself electronically and communicate
securely with users’ computers and other servers on the local network and the Internet.
The SSL certificate provides additional security for address book, iCal, iChat, mail, and
web services. These services can use the certificate to securely encrypt and decrypt
data they send to and receive from applications on users’ computers.

159
Chapter 10
Managing Server Information
To use an SSL certificate:
1
In the Information pane of Server Preferences, click the Edit button to the right of SSL
Certificate.
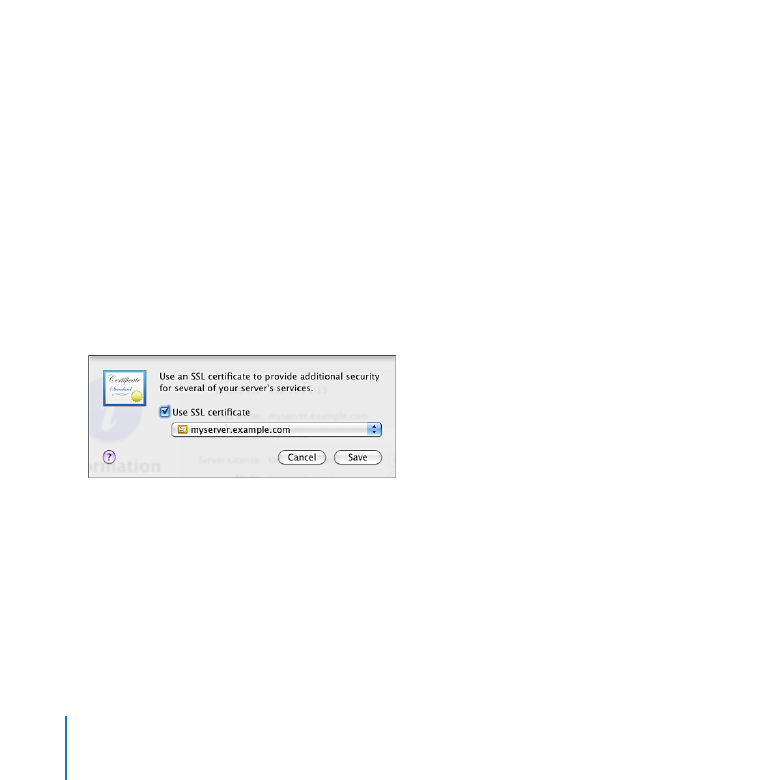
2
Select “Use SSL certificate” and then choose an available certificate from the top part of
the pop-up menu.
If the pop-up menu doesn’t contain any certificates, you can create a self-signed
certificate. For instructions, search Server Preferences Help for “self-signed certificate.”
If you want to use a previously generated SSL certificate, you can import it.
For instructions, search Server Preferences Help for “importing a certificate.”
You can use the self-signed certificate created for your server when you set it up, or
a self-signed certificate you created, but users’ applications won’t automatically trust
either of these and will display messages asking if the user trusts your certificate.
Using a signed certificate relieves users from the uncertainty and tedium of manually
accepting your certificate in these messages. In addition, a man-in-the-middle spoofing
attack is possible with a self-signed certificate, but not with a signed certificate, and
that means users can trust the services they are accessing. See “Obtaining a Signed
Certificate” on page 159 and “Replacing a Self-Signed Certificate” on page 161.
Obtaining a Signed Certificate
You can use a self-signed certificate to obtain a signed certificate from a known
certificate authority. A self-signed certificate usually isn’t trusted automatically, but
a signed certificate usually is. Services that can use SSL certificates need a trusted
certificate to securely communicate with users’ applications and other servers.
160
Chapter 10
Managing Server Information
To obtain a valid signed certificate, you use a self-signed certificate to generate a
certificate signing request (CSR) file, which you send to a certificate authority. If your
request satisfies the authority, it makes a signed certificate and sends it to you.
To obtain a signed certificate:
1
In the Information pane of Server Preferences, click the Edit button to the right of SSL
Certificate.
2
Choose the self-signed certificate you want to use from the pop-up menu.
“Use SSL certificate” must be selected to make the pop-up menu available.
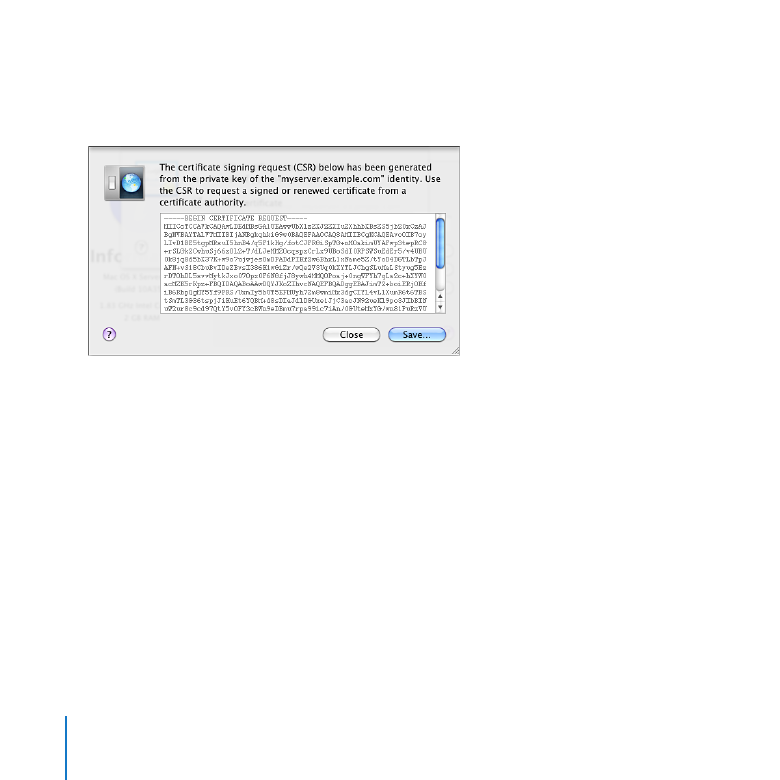
3
Choose Certificate Signing > Generate Certificate Signing Request from the pop-up
menu, click Save, and choose a location to save the certificate signing request (CSR) file.
4
Send the CSR to a certificate authority.
Typically, you need to open the CSR file using TextEdit, copy the entire contents, and
paste into a form on the certificate authority’s website. Contact the certificate authority
you want to use to determine how to send your CSR. For information about certificate
authorities, search the web.
161
Chapter 10
Managing Server Information
When you receive your SSL certificate from the certificate authority, you can use it
to replace your self-signed certificate. For instructions, see “Replacing a Self-Signed
Certificate,” next.
Replacing a Self-Signed Certificate
After you receive a signed certificate from a certificate authority, you can use it to
replace your self-signed certificate.
To replace a self-signed certificate:
1
In the Finder, locate the signed certificate file you received from a certificate authority,
and put the file somewhere you’ll be able to see it, such as on the desktop, while using
Server Preferences.
2
In the Information pane of Server Preferences, click the Edit button to the right of SSL
Certificate.
3
Choose the self-signed certificate you want to replace from the pop-up menu.
“Use SSL certificate” must be selected to make the pop-up menu available.
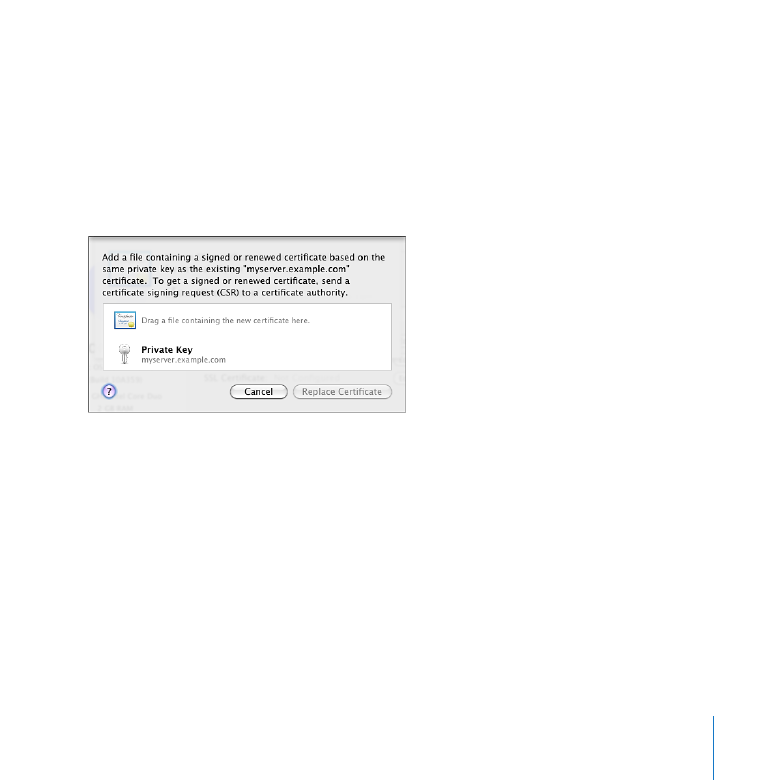
4
Choose Certificate Signing > “Replace With Signed or Renewed Certificate” from the
pop-up menu.
162
Chapter 10
Managing Server Information
5
Drag the file containing the signed certificate to the middle of the dialog in Server
Preferences, and then click Replace Certificate.