Installing Mac OS X Server
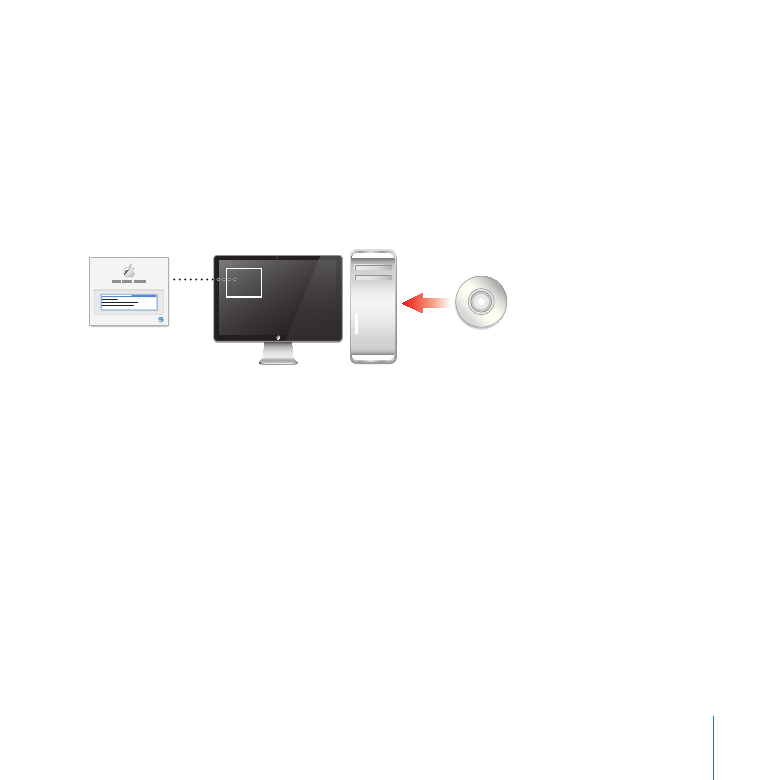
Use the Installer to install Snow Leopard locally, or use
Server Admin to install remotely.
Before installing Mac OS X Server, be sure to prepare the computer you’re going
to use as a server and get your network and Internet connection ready. Also, use
the Installation & Setup Worksheet to collect information you’ll need. (It’s in the
Documentation folder on the Mac OS X Server Install Disc.) For more information about
these preparations, see the previous chapter.
You can install Mac OS X Server v10.6 Snow Leopard using one of these methods:
Install locally if the target server has a display and keyboard that you can use
Â
conveniently
Install remotely if the target server is inconveniently located or doesn’t have a display
Â
For information about other installation methods, such as upgrading an existing
server or migrating an existing server to a new computer with Snow Leopard Server,
open Server Admin (in /Applications/Server/) and then use the Help menu, or see the
Mac OS X Server Resources website at www.apple.com/server/macosx/resources/.

54
Chapter 3
Installing Mac OS X Server
Installing Mac OS X Server Securely
When you start up a computer from the Mac OS X Server Install Disc, SSH remote login
service and VNC screen sharing service start automatically in order to make remote
installation possible.
Important:
Make sure the network is secure before you install or reinstall Mac OS X
Server, because SSH and VNC give others access to the computer over the network.
For example, set up your local network so that only users you trust can access it.
Avoid having Ethernet jacks in public places. If you have an AirPort Base Station or
other wireless access point, configure it to use WPA2 authentication (also called RSN)
with a strong password. Consider making the wireless network name private. Also,
try to keep the server’s hardware serial number confidential, because it’s used as the
password for remote installation and setup.

55
Chapter 3
Installing Mac OS X Server