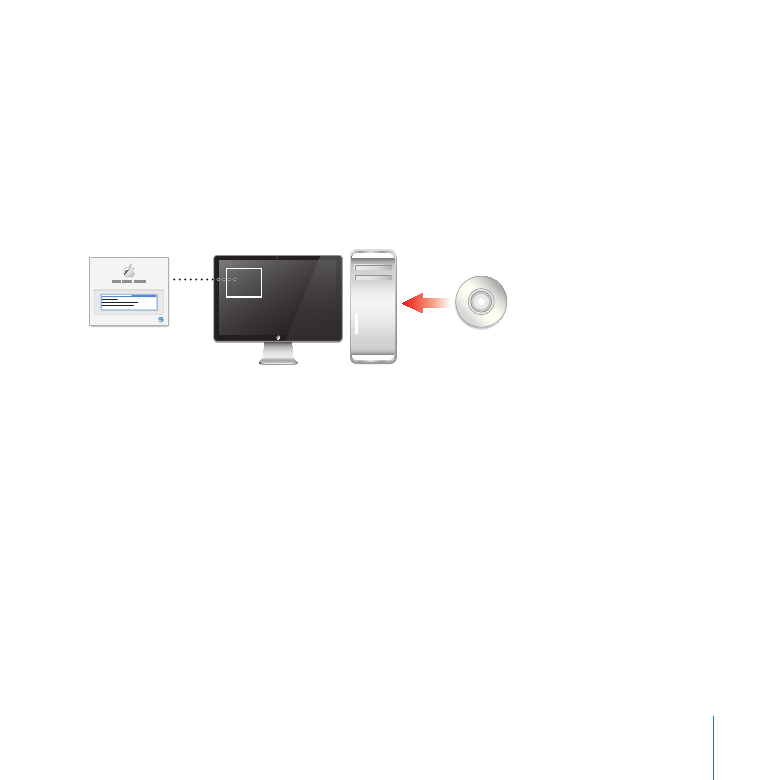
Installing Locally
You can install Mac OS X Server directly onto a computer by starting up the computer
from the Mac OS X Server Install Disc. The Installer application guides you through the
interactive installation process. The computer must have a display attached so you can
interact with the Installer. When you install locally, you can use Disk Utility and other
applications in the Installer’s Utilities menu, and you can customize the installation by
selecting items to be installed.
Installer
application
Target server
You can perform:
A new installation of Mac OS X Server on a disk that doesn’t already have Mac OS X
Â
Server or Mac OS X installed
A clean installation, which installs Mac OS X Server after erasing and formatting a
Â
target disk
An upgrade of a server with an Intel processor and Mac OS X Server v10.5 Leopard or
Â
Mac OS X Server v10.4.11 Tiger (for information about other upgrading and migrating
options, open Server Admin and then use the Help menu, or see the Mac OS X
Server Resources website at www.apple.com/server/macosx/resources/)

56
Chapter 3
Installing Mac OS X Server
To install Mac OS X Server locally:
1
If you’re planning to erase or partition the target disk, make sure you have a backup of
the disk.
2
Start up the computer, log in if necessary, and insert the Mac OS X Server Install Disc into
the DVD drive.
3
Open the Install Mac OS X Server application and click the Restart button.
The application is in the Mac OS X Server Install Disc window.
If you see an Install button instead of a Restart button in the lower-right corner of the
application window, click Install and proceed through the Installer panes by following
the onscreen instructions (skip steps 4 through 8 below). When installation is complete,
restart the server. Server Assistant opens so you can set up the server. For information,
see “Setting Up a Server Locally” on page 63.
4
After the computer restarts, choose the language you want to use on the server,
and then click the arrow button.
5
Read the information about Mac OS X Server, use the Utilities menu if necessary,
and then click Continue.
Â
If you need to erase the target disk before installing, choose Utilities > Disk Utility.
You can also use Disk Utility to partition the server’s hard disk or create a RAID set.
For more information, see “Erasing with Disk Utility” on page 49.
Note: The Installer won’t erase the disk for you before it installs Snow Leopard Server.
If you don’t want to upgrade Mac OS X Server on an existing server, be sure to use
Disk Utility to erase the disk before installing.
Â
If you want to restore from a Time Machine backup of Mac OS X Server, choose Utilities >
Restore System From Backup.

57
Chapter 3
Installing Mac OS X Server
6
Read and agree to the software license agreement.
7
Select the disk or volume (partition) you want to install on, and make sure it’s in the
expected state before clicking Install to begin installing.
If you want to select the language translations, printer drivers, and other optional items
that will be installed, click Customize.
You can quit installation before it begins by using the Mac OS X Installer menu.
8
After installation is complete, the computer restarts and Server Assistant opens so you
can set up the server.
For information, see “Setting Up a Server Locally” on page 63.