
Adding a User Account
You can add an individual user account for each person who uses the services provided
by your server. Your server gives each user account its own email address, iChat
address, personal calendar, and My Page wiki portal. User accounts can also have access
to wikis, blogs, web calendars, a server-based address book, the server’s shared files,
and Time Machine backup storage, and they can use VPN to access the server remotely.
Availability of each service is subject to the service being turned on, and you can
individually control each user account’s access to services.
To add a new user account:
1
Click the Add (+) button in the Users pane of Server Preferences.
2
If you see a pop-up menu, choose one of the commands:
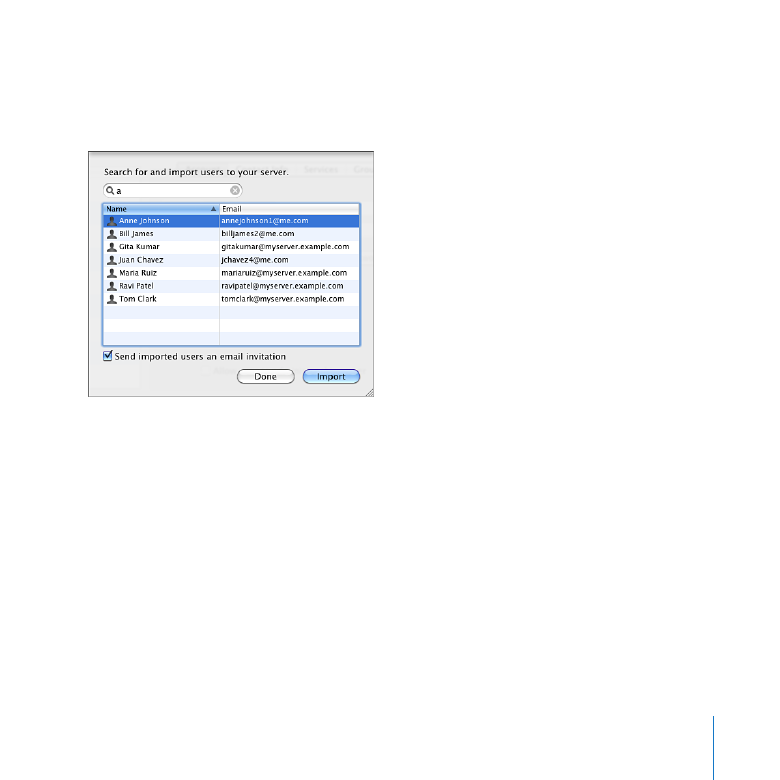
Import User From Directory: You can import users’ existing accounts from your
organization’s directory server. For instructions, see “Importing Users” on page 91.
Create New User: You typically add new users from your organization’s directory server
if possible, but you can also create new user accounts in your server’s directory. To do
this, continue with step 3.
If you don’t see a pop-up menu when you click the Add (+) button, your server isn’t
connected to a directory server. Continue with step 3 to create a user account in your
server’s directory.
3
Enter the user’s name.
The name can be up to 255 characters (which can be as few as 85 Japanese characters).
It can include spaces.

90
Chapter 6
Managing Users
4
If you don’t want to use the generated short name, enter a different short name.
After the account is created, you can’t change this short name.
The short name typically is eight or fewer characters, but can be up to 255 Roman
characters. Use only the characters a through z, A through Z, 0 through 9, . (period),
_ (underscore), or - (hyphen).
Note: If a user already has a short name on a Mac, try to use the same short name
for the user’s account on the server. Having the same short name facilitates the user’s
access to services.
5
Enter the user’s password in the Password and Verify fields.
You can use Password Assistant to help you choose a password. Click the Key button at
the right of the Password field to see how secure the password is. The user can change
this password in the Accounts pane of System Preferences on the user’s computer.
6
Select “Allow user to administer this computer” if this user account needs to create
other user accounts, create groups, install software on the server, or change server
settings.
91
Chapter 6
Managing Users