
Creating a New Group
You can create a new group whenever some server users need their own shared group
folder, or when you need to control access to shared folders and files.
To create a new group:
1
Click the Add (+) button in the Groups pane of Server Preferences.
2
Enter a name for the group, and optionally change the short name.
The group name can be up to 255 characters (which can be as few as 85 Japanese
characters). It can include spaces.
After you create the account, you can’t change the short name. If you don’t want to use
the generated short name, enter a different short name.
The short name typically is eight or fewer characters, but can be up to 255 Roman
characters. Use only the characters a through z, A through Z, 0 through 9, . (period),
_ (underscore), or - (hyphen).
3
Select the services you want the group to have, and deselect the services you don’t
want the group to have.
File Sharing Folder: Provides a file sharing folder for the group. Members can get files
from the group’s shared folder and put files in it. It’s named after the group’s short
name and is located on the server’s startup disk in the /Groups/ folder. Clicking the link
arrow next to File Sharing Folder opens the group’s shared folder in the Finder.
iChat Autobuddy List: Automatically adds the Jabber IDs (screen names) of all group
members to each member’s Jabber buddy list. If the group has external members,
they aren’t included in the iChat autobuddy list.

121
Chapter 8
Managing Groups
Create group wiki: Opens your web browser and starts the process of creating a wiki
using this group’s name. While creating the wiki, you select a visual theme and set
access permissions. The wiki initially includes a web calendar, blog, and mailing list.
You can customize the wiki after creating it. For more information, click the Help link
on any wiki page.
If a wiki has been created using this group’s name, the “Create group wiki” button
is replaced by a link to the wiki the next time you view the Groups pane in Server
Preferences.
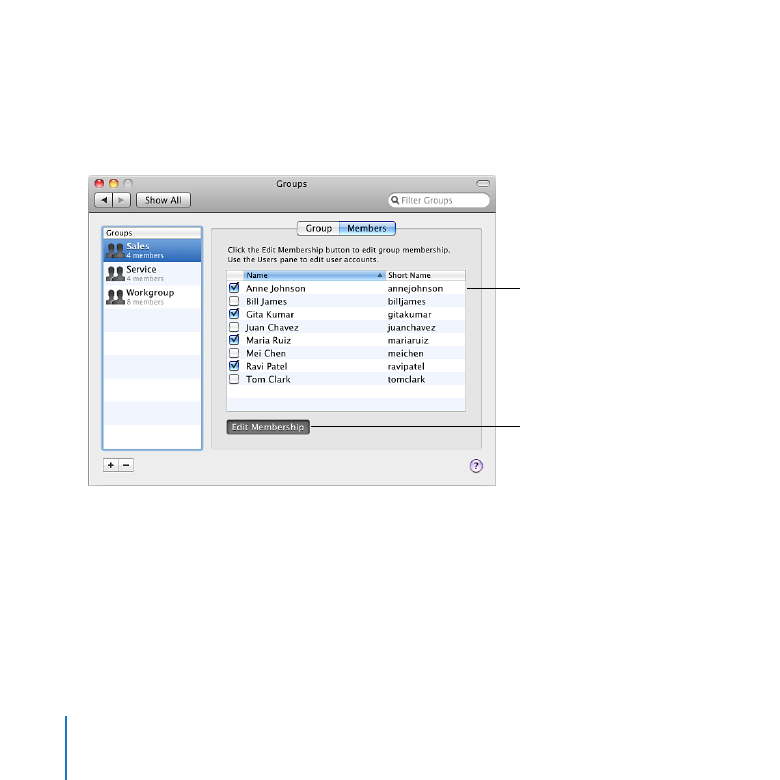
4
Add users to the group by clicking Members. Add users and groups from your
organization’s directory server by clicking External Members. For instructions,
see “Adding or Removing Members of a Group” on page 122 and “Adding or Removing
External Members of a Group” on page 123.
If you don’t see an External Members tab (shown on page 123), your server isn’t
connected to a directory server. See “Connecting Your Server to a Directory Server” on
page 71.
To access shared folders or private wikis that the group has permission to use, group
members must authenticate using their user account name and password. Availability
of group services is subject to file sharing service, iChat service, and web services being
turned on.
122
Chapter 8
Managing Groups